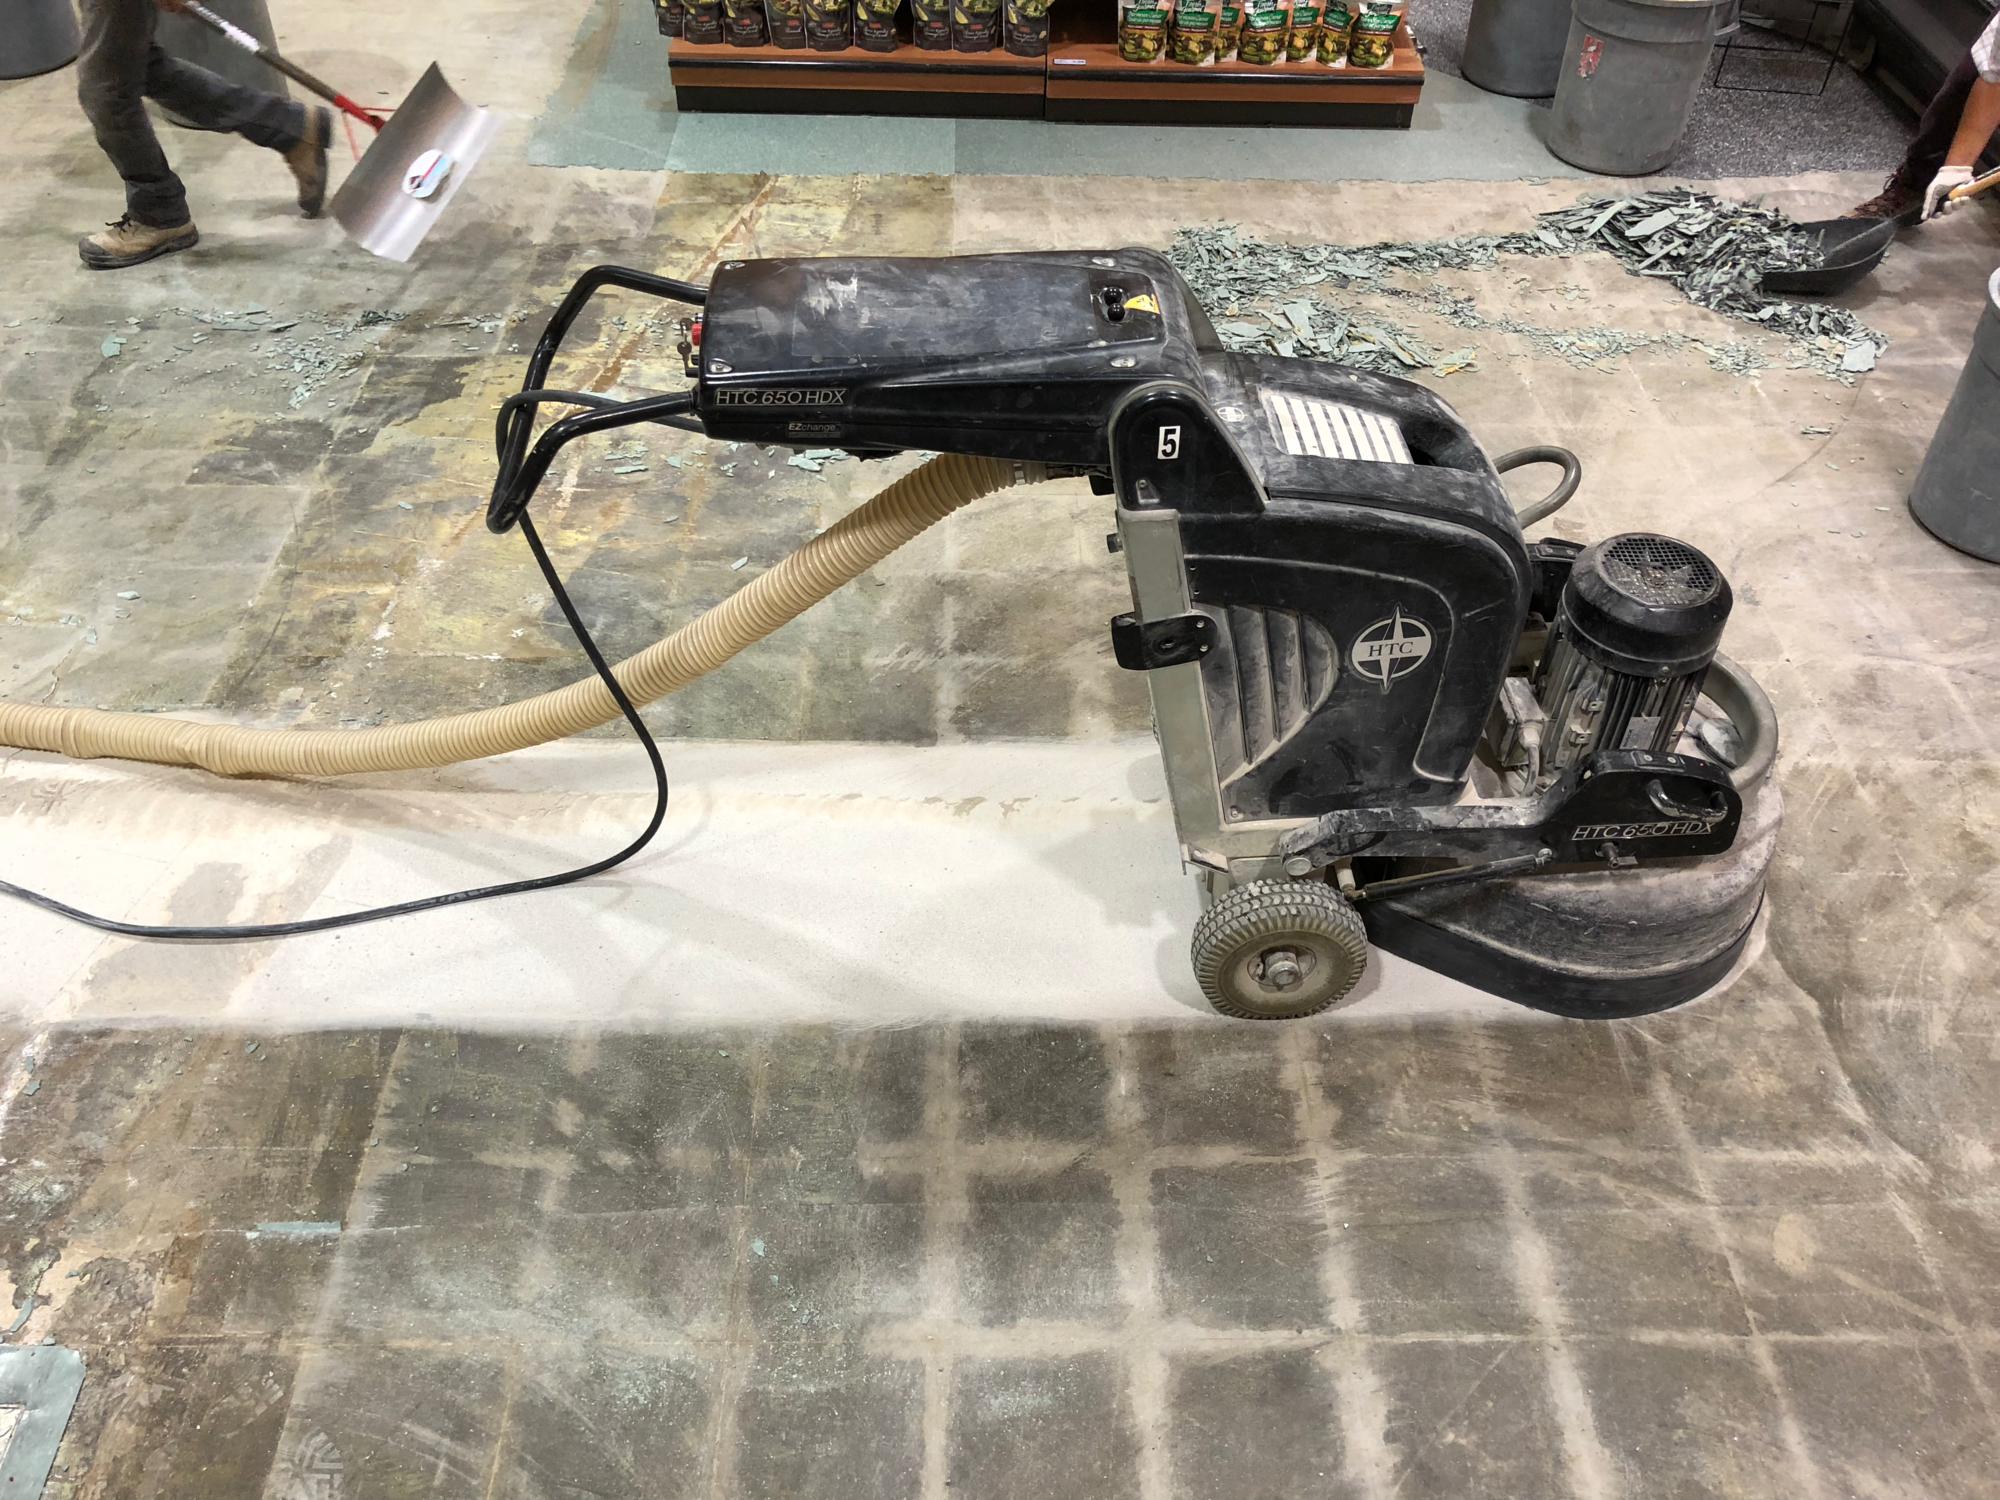
Have you ever tried to peel off a stubborn price sticker from a new purchase, only to find yourself frustrated by the sticky residue it leaves behind? Removing floor tile adhesive can sometimes feel like a similar challenge. The process requires patience and the right tools to ensure a smooth and clean finish.
As you embark on this task, understanding the methods and techniques involved can make all the difference in achieving a successful outcome. Stay tuned to discover effective ways to tackle floor tile adhesive removal and restore your floors to their former glory. Also Read Manufacturers of Tile Adhesive, Wall Putty & Epoxy Grout
Preparing the Work Area
- To begin preparing the work area for removing floor tile adhesive, clear the space of any furniture or obstacles that may hinder your movement. It’s crucial to ensure a safe environment before starting the removal process. Gather your protective gear, including gloves, goggles, and a mask, to shield yourself from any potential hazards. Proper ventilation is key, so open windows and doors or use fans to maintain airflow.
- Next, set up your work surface by laying down a drop cloth to catch any debris or adhesive remnants. Containment is essential to prevent the adhesive from spreading to other areas of the room. Additionally, consider using plastic sheeting to create a barrier around the work zone.

Gathering Necessary Tools and Materials
Consider gathering the following tools and materials to effectively remove floor tile adhesive:
- For adhesive removal, you’ll need a floor scraper or chisel to scrape off the adhesive from the surface. A heat gun or a hairdryer can be handy to soften stubborn adhesive for easier removal. Additionally, have a putty knife or a similar tool to help in lifting off the softened adhesive.
- When it comes to tool selection, make sure to have a sturdy pair of gloves to protect your hands during the removal process. Safety goggles are essential to shield your eyes from any debris that may dislodge during the adhesive removal. A dust mask will help you breathe comfortably and avoid inhaling any particles.
- Other necessary materials include a bucket for collecting debris, a broom and dustpan for cleaning up the work area, and a damp cloth to wipe off any residue left behind. By having these tools and materials on hand, you can efficiently tackle the task of removing floor tile adhesive.
Softening the Adhesive
- When softening the adhesive, start by applying heat using a heat gun or a hairdryer to make the removal process easier. Heat application helps to soften the adhesive, making it more pliable for removal. Hold the heat source a few inches away from the adhesive and move it back and forth in a sweeping motion to evenly distribute the heat.
- For stubborn adhesive that doesn’t respond well to heat alone, consider using chemical solvents. Apply the solvent according to the manufacturer’s instructions and allow it to penetrate the adhesive. The solvent helps break down the adhesive bond, making it easier to scrape off.
- Once the adhesive has been softened either with heat or a chemical solvent, use a putty knife or a scraper for mechanical scraping. Work in small sections, gently lifting and scraping off the softened adhesive. Be patient and repeat the process if necessary until all adhesive residue has been removed.
Scraping Off the Adhesive
- After softening the adhesive with heat or a chemical solvent, proceed to tackle the task of scraping off the softened adhesive using a putty knife or scraper. When choosing the right scraper, opt for a tool with a sharp edge that can effectively lift the adhesive without causing damage to the subfloor. A putty knife is a good option for small areas or spots that need detailed work. For larger areas, consider using a wider scraper to cover more ground efficiently.
- To avoid damaging the subfloor during the scraping process, work carefully and patiently. Apply gentle pressure with the scraper to lift the adhesive gradually without gouging or scratching the subfloor. If there are stubborn patches of adhesive that are hard to remove, you can reapply heat or solvent to further soften the residue before scraping. Remember to periodically clean the scraper to remove buildup and maintain its effectiveness. With the right tools and technique, you can successfully scrape off the adhesive without causing harm to the underlying surface.
Cleaning Up and Finishing Touches
- To finish up the removal process, ensure that all remaining adhesive residue is thoroughly cleaned from the subfloor using a suitable cleaning solution and a scrubbing brush. Begin by applying the cleaning solution to the area with adhesive residue and let it sit for a few minutes to loosen the adhesive. Then, take the scrubbing brush and work in circular motions to scrub off the remaining residue. It may take some elbow grease, but be persistent until the subfloor is free of any sticky remnants.
- After scrubbing, use a clean cloth or mop to wipe away the cleaning solution and any loosened adhesive. Inspect the subfloor closely to ensure no residue remains. If there are still stubborn spots, repeat the cleaning process until the subfloor is completely clean. Once satisfied with the cleanliness, allow the subfloor to dry thoroughly before proceeding with any further flooring installation. These finishing techniques will guarantee a smooth and adhesive-free surface, ready for the next steps in your flooring project.
Conclusion
Now that you have successfully removed the floor tile adhesive, your space is ready for the next step in your renovation project. Remember to clean up any leftover residue and ensure the area is smooth and ready for new flooring. With the right tools and techniques, removing floor tile adhesive can be a manageable task that will leave your floors looking fresh and ready for a new look.